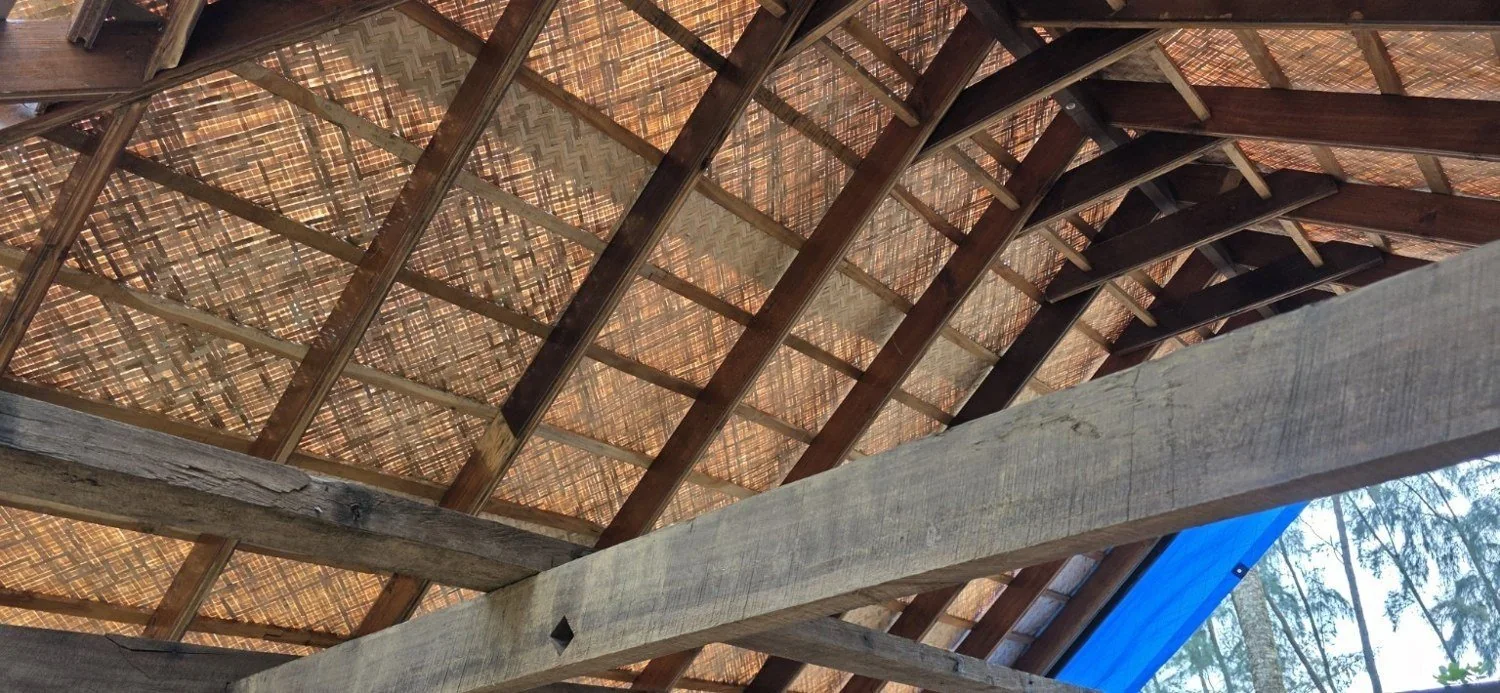
Start where people enter
Stand at the main doorway and look across the room. Which beam is centred in the view? Which wall stays in shadow? Mark the entrance and the main direction of view on a plain sketch. For a dining space, also mark a typical seat to show how the ceiling looks from below.
Lay a weave sample in both directions. Photograph it with the sample oriented as it would be on the ceiling, under the light the room will actually use.
Draw whole mats before cutting the edges
Add the available mat dimensions to the room measurements. On the sketch, try centring a whole mat in the room, then try centring a joint. The two options can leave very different widths along the walls. In a space with exposed beams, draw each bay separately.
Where adjacent bays differ in width, a border can help resolve the transition. Its width, material and colour affect how much the eye notices it. Include the border in the sample review.
Place the fittings on the same drawing
Add lights, fans, service hatches and beams before agreeing on a joint pattern. A small shift in a panel line can keep a light visually centred and give the installer a clear edge to finish. Identify the people responsible for fitting supports and future access.
Send the sketch with one photograph from the doorway and another looking straight up. If the ceiling is pitched, add a side view showing the low and high points.
Frequently asked questions
What is a reflected ceiling plan?
It is a drawing of the ceiling layout as if seen reflected on the floor. It helps the team agree where panels, joints, lights and access openings sit in relation to the room.
What if the ceiling has already been installed?
Photograph the existing finish, its perimeter and a representative beam junction. Note the room dimensions and which elements you want to retain before discussing a new mat lining.